




angle-graphic

Push Template Changes is Here!

We all know the story: you create 100 checklists based on a template, only to realize that you need to add one more line. Now you have to find the checklists, delete them, update the template, and create all 100 again.

But no more! With the new “Push Changes” feature, all you have to do is add the line to the template and click the “Push Changes” button. All 100 checklists will be updated with the line you just added. Go get another cup of coffee with all that time you just saved!

This has been our most-requested feature and we are thrilled to be able to deliver it.

You may be wondering, what if the checklists or tests are partially completed? Will it still work then? Yes! Answers, notes, attribute values, associated files and issues – all of those can be part of a checklist or test and it can still be updated via “Push Template Changes”.

There are a couple of prerequisites that determine which checklists and tests can be updated via “Push Template Changes”. First, the checklists or tests need to have been created from a project template. Second, they need to have been created after September 25, 2019. Finally, the checklists or tests can not have been structurally modified – i.e., if you edited a line’s question, added or deleted lines, or reordered lines then that particular checklist or test is excluded.

Don’t worry, you can review which checklists or tests will be updated and the updates that will be applied prior to pushing changes. You can also exclude specific checklists or tests by unchecking them prior to pushing changes. Read our support article for more details.

Earlier I noted that this was our most-requested feature. I can only say that because of the feature request forum we rolled out last year which has been a tremendous resource for us as we decide what features to prioritize. If you are a CxAlloy user, I encourage you to let us know what features you’d like to see at feedback.cxalloy.com.

Account-Level User Management – Customer Appreciation Summer

The next release in our customer appreciation summer is a real time-saver for those with large project portfolios. You can now select a user in the account area and add them to multiple projects simultaneously.

image

When adding users in this way you assign them a permission preset. This works well with custom permission presets, a feature we released during last year’s Customer Appreciation Summer. Synergy! 😀

And don’t worry, CxAlloy TQ only sends a single email to the user when you add them to multiple projects in this way. You can even choose not to notify them at all by unchecking that option at the bottom left of the window.

Access this feature by going to Account → People, then clicking “Add” in the Projects subsection.

Summer Extension

You may have noticed that our Customer Appreciation Summer had a hiatus these past few weeks. Rest assured that it continues and will extend a bit to make up for the time off. Here are a few of the features we are getting ready as you read this:

  • Ability to convert a person to a contact instead of deleting them from the account.
  • Ability to update statuses via an Excel import.
  • An improved flow for renaming equipment via an Excel import.

See you next time!

Go Dark on iOS

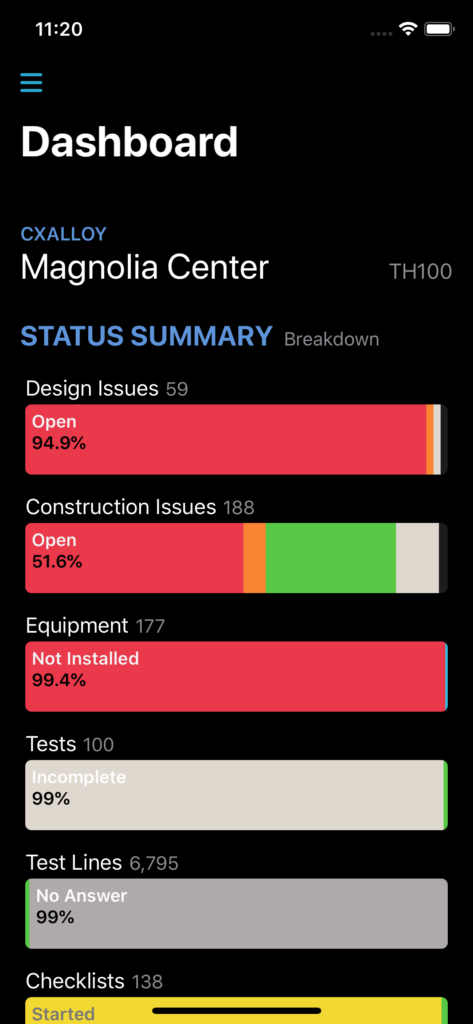
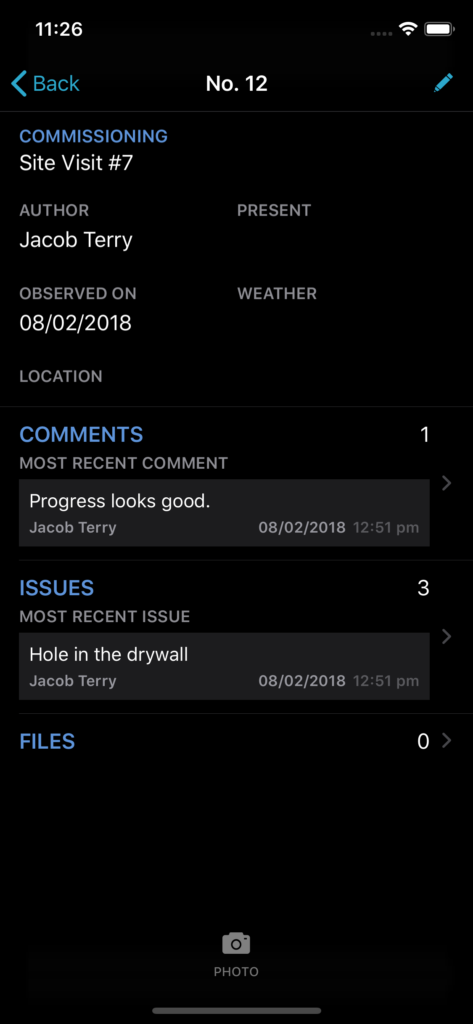
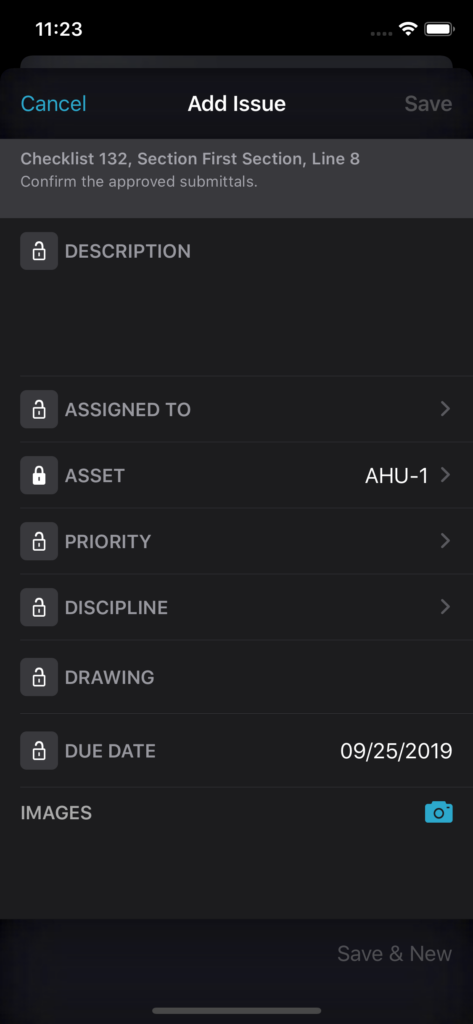
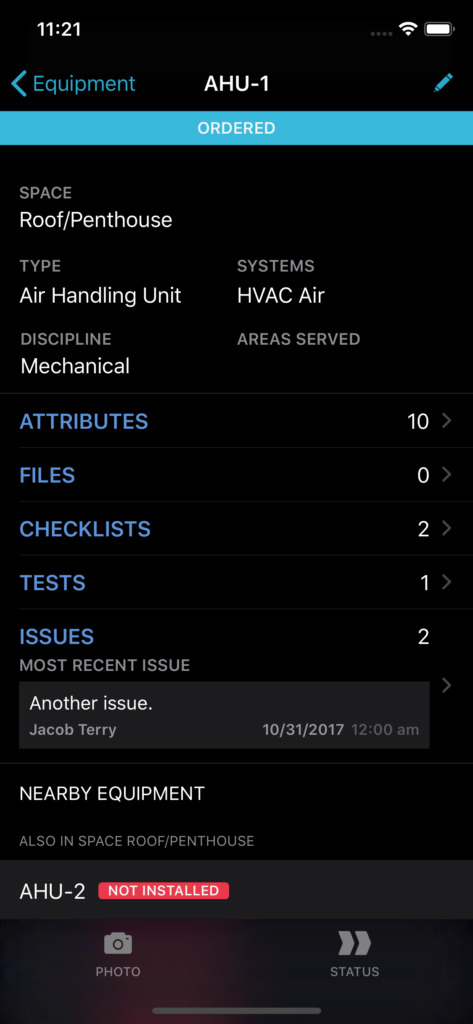
Starting with version 3.15 of the iOS app a new dark appearance is available that lowers the lights on your CxAlloy TQ project. To enable the new dark appearance, enable the system-wide dark mode on your iOS device. System dark mode requires iOS 13. You can learn more about updating your device to iOS 13 on Apple’s website.

Multiple Photos in Field Observation Comments – Customer Appreciation Summer

If the number of requests on our feedback forum is to be believed, many of you are going to be happy with our latest release.

You can now upload as many photos to a field observation comment as you want. Woo-hoo! We’ve rolled this out both on the web and in version 3.14 of the iOS app.

image

Comment Reordering

Earlier this year we added comment reordering for field observation comments, but there was no obvious indicator that it was possible. In this update we’ve made it clearer that comments can be reordered with an always-visible drag handle. We’ve also made several other improvements to the reordering experience.

image

Dropping Support for iOS 10 and iOS 11

Also, in order to better support the upcoming iOS 13 and iPadOS 13, as well as some big features we have in the works, we will be dropping support for older versions of iOS. Version 3.14 will be the last major version of the app that supports iOS 10 and iOS 11. Devices running these older versions should update to iOS 12. iOS 12 is compatible with the devices listed on Apple’s site (note, any device that can run iOS 11 can run iOS 12). If you are using an older device that is not listed, you can continue running the app as it exists currently, it just will no longer receive updates past 3.14. If you have any questions or concerns, please contact support.

Task Comment Editing – Customer Appreciation Summer

I’ve got to be up front with you all – this week’s feature should have been there from the beginning. Being able to edit a comment you made is pretty important after all. What if you made a typo? Or you forgot to include something important? You could always delete it and re-add it with the needed changes, but let’s be real, you should just be able to edit it.

Well, now you can. Huzzah!

See you next week!

Customer Appreciation Summer Kicks Off with a New File Viewer

For our first release of this year’s customer appreciation summer we have rolled out a brand-new file viewer with tons of new features.

  • Zoom!
  • Search!
  • Seamless scrolling
  • Select and copy text
  • Table of contents/bookmarks view
  • Page thumbnails

To see the new viewer, simply click on a file that you’ve uploaded to an item or to the Project Files section.

In addition, we’ve made a small improvement to project navigation. In the past you could see a list of all files attached to items (issues, equipment, checklists, etc.) but to get to the list you had to know to click on this obscure sentence at the bottom of the Project Files page:

image

Not exactly obvious, was it? (well, without the red arrows, that is)

We’ve now made this much more obvious by adding an “Attached Files” option in the project menu. We think that makes a lot more sense!

One more thing – the new file viewer is part of a larger effort to allow you to annotate your images and PDFs directly in CxAlloy TQ. That will be coming a little later, but I hope you’ll look forward to it. See you next week!

Recent Updates and the Second Annual Customer Summer

Hello! It’s been a while and we have a lot to share. First there are some recent updates to tell you about and then I want to give you a preview of our plans for our 2nd annual customer summer!

Recent Updates

Multiple Report Generator Configurations

image

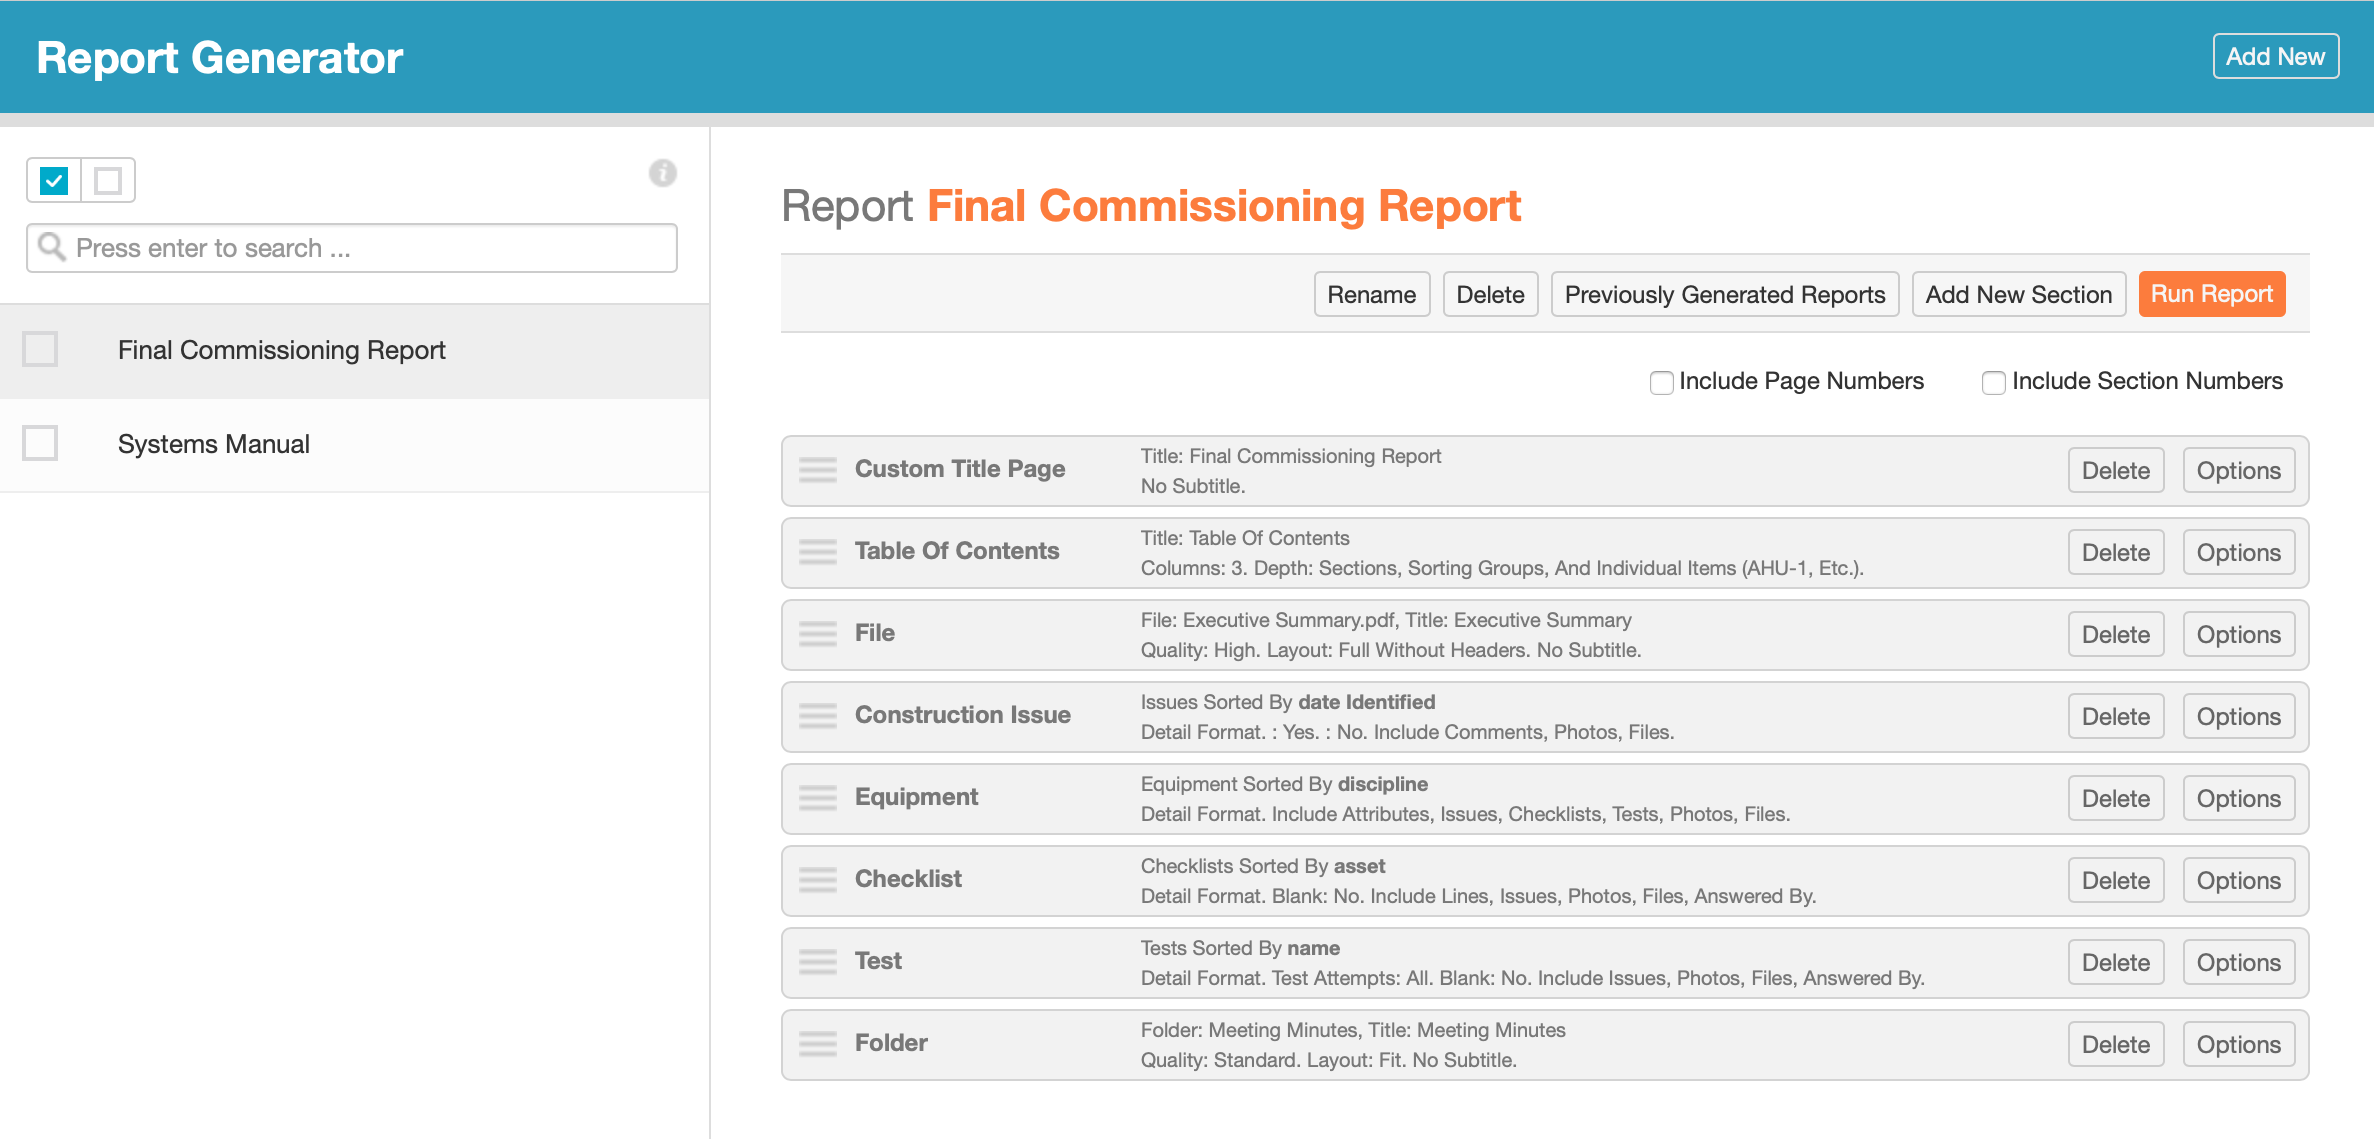
You can now create multiple report generator configurations in your projects. This one is pretty self-explanatory. 😀 You no longer need to mess up an existing configuration in order to run some other report! Just click “Add New” at the top right of the page to get started creating a new report configuration.

Account Overview

Our new Account Overview, which has been in beta with our user conference attendees since late last year, is now available in all accounts.

image

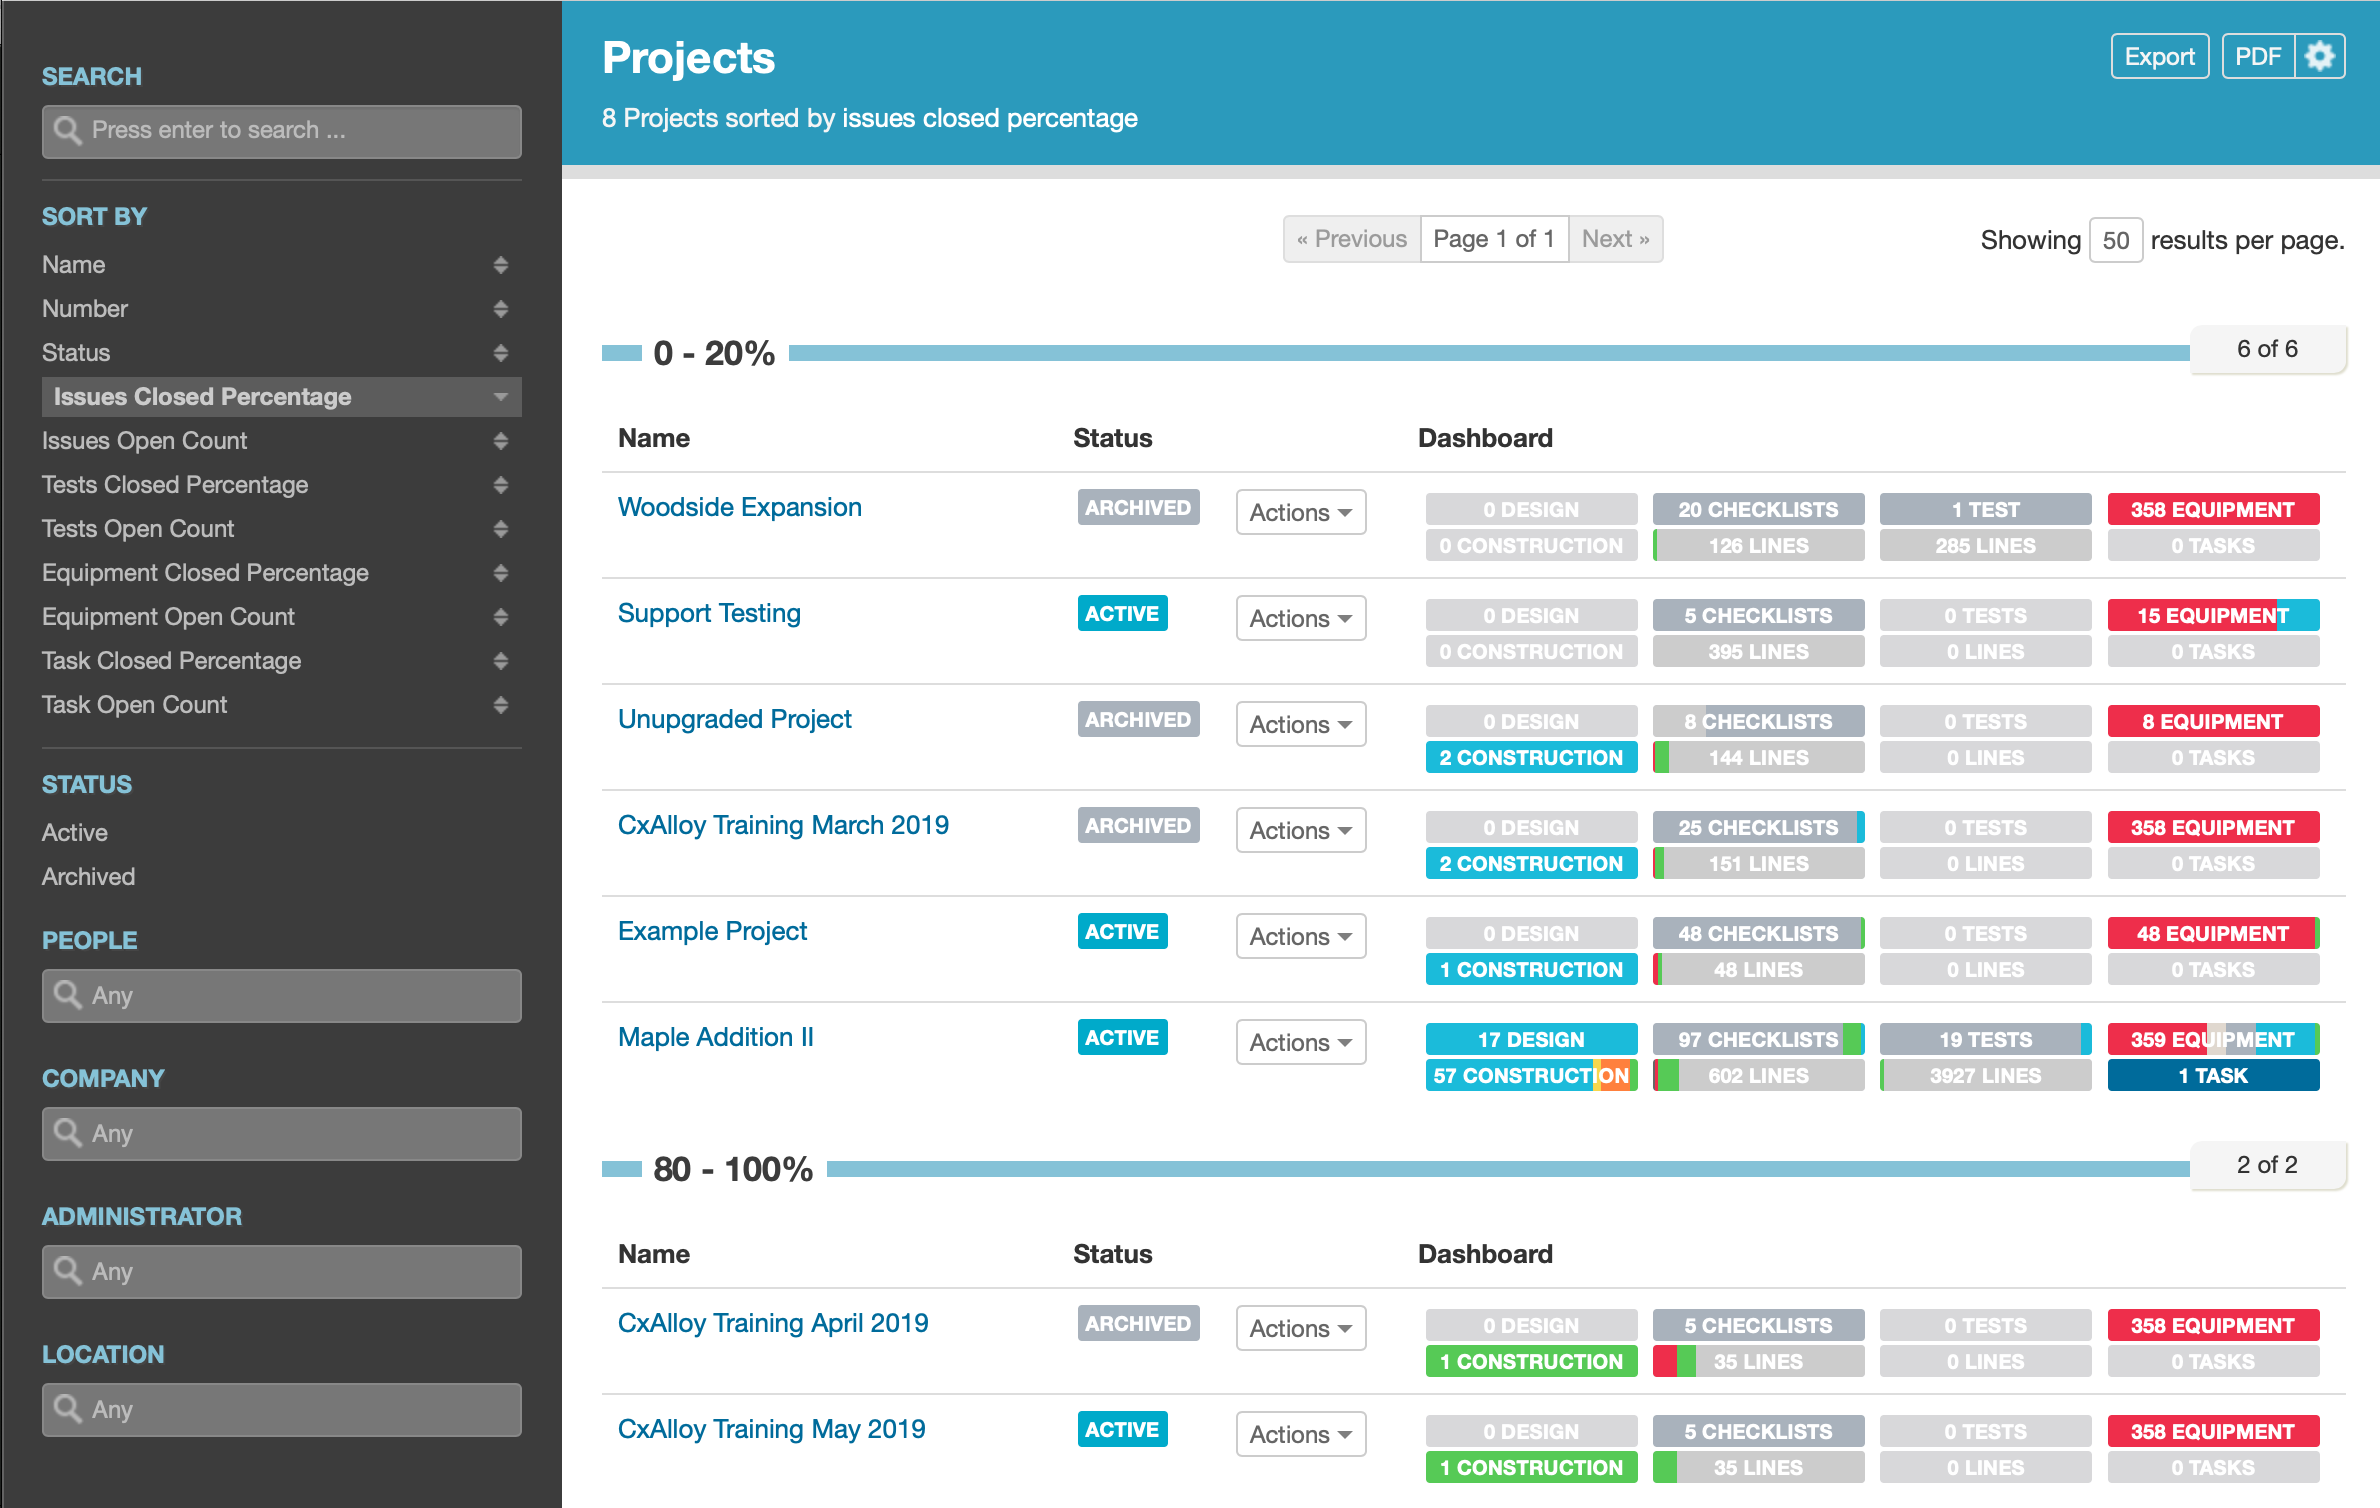
Like the project list, the account overview shows you a list of all projects in the account. It then improves on the project list by showing each project’s dashboard directly in the list and adding filters, sorting, exporting, and PDF reporting.

For those in the beta it’s worth noting that this release included improvements, such as a nicer-looking PDF and group headers when sorting.

In the future we will replace the project list with the account overview.

Test Template Folders in Upgraded Projects

image

In accounts and projects that have Upgraded Checklists tests and test templates now work like checklists. This means that many of the checklist benefits you get from upgrading your project are also in tests, like organizing your test templates into folders and the improved batch creation and template copying functions.

If you haven’t upgraded your account or project yet we encourage you to do so. Read our Upgrade Guide to get started.

Integration with CxAlloy FM for Seamless Maintenance

We have also made available our integration with CxAlloy FM (Facility Maintenance), our preventative maintenance software.

image

With this integration you can move a project’s asset data – equipment, equipment types, systems, and locations – to CxAlloy FM with a click. Beyond just copying asset data, CxAlloy FM will look for common equipment (such as air handling units, chillers, boilers, etc.) and automatically create maintenance procedures and schedules for them.

To learn more about the integration and CxAlloy FM, please read our support article.

The Second Annual Customer Appreciation Summer

image

The feedback we got on last year’s Customer Appreciation Summer was so positive we decided to do it again! Like last year we’ll be releasing a series of new features all summer long, with a particular focus on features that are highly requested by our customers.

Here are just some of the features we’ll be releasing:

  • Attach multiple photos to a field observation comment
  • Manage a user’s projects at the account level
  • Import asset and assignment fields with issues

Our 2nd Customer Appreciation Summer will start the weekend of June 22-23. We hope you enjoy it!

Big Little Changes – CxAlloy TQ App Update

We’ve released version 3.10 of the iOS app which includes features suggested by attendees of our CxAlloy User Conference in November plus a couple of things that we’ve been working on for a while.

Customer requested features

image

Tappable URLs in checklist and test lines – When you add a URL to a checklist or test line, the app will convert the URL to a link. Tapping the link will open the URL in Safari. The same functionality is coming to the web version as well.

image

Quick user logout – The bottom of the project list displays the currently logged in user. You can tap on this label to quickly log out without having to go to the app’s Settings.

image

Sync just one project – If you want to sync just one project instead of all of them at once, you can do so by swiping left on a downloaded project and tapping the sync button.

Faster line details

image

We’ve tweaked how we show line options. Previously when you tapped a line the options would open up below the line. Now we show them in a “popover” above the line. We made this change because it makes scrolling long tests and checklists much smoother (due to complicated technical reasons). Happily the feedback from early users was that they also liked the “popover” better than the old way.

Stepping into the background

In addition to these features suggested by our users (thanks, y’all!), we’ve included a new feature of our own. Now, after you tap on a project to download it, you no longer need to keep the app open in order for the download to complete. Background project downloading required us to make some significant changes to our server’s sync architecture and we’ll be announcing some exciting new features built on this new download framework in the coming months. Keep an eye on this space!

Big little changes

Some small changes can have big impacts. Being able to click a link in a checklist or test line is a small feature on paper, but opens up new possibilities for your checklists and tests. Likewise, showing some buttons above a line in a “popover” instead of below the line is barely noticeable, but dramatically improves scrolling performance. And background project downloading is a small improvement day-to-day, but represents a new frontier we can explore to ensure your data in the app and on the server is always available and up-to-date.

Field Observation Comments and Updated Exports – Customer Appreciation Fall Update

When you’re walking into work against a cold wind with your jacket drawn tightly around you, your hands in your pockets to stay warm, it may seem like summer is in the distant past, so I understand if you’ve forgotten about our Customer Appreciation Summer. If you haven’t, though, you may have noticed that a couple of planned updates didn’t get announced.

Well, our final features proved a bit more challenging so they had to get moved to “Customer Appreciation Fall” 🍁 We snuck two updates out over the past month that I’m sure you’ll be interested in. Luckily our customer appreciation doesn’t change with the seasons!

Field Observation Comment Photos

The first feature addresses what may be one of our oldest outstanding feature requests – the ability to update photos on field observation comments. You can now add a photo to an existing field observation comment, change the photo on an existing comment, or remove the photo from a comment. Thank goodness!

image

We also have made it possible to reorder your field observation comments simply by dragging and dropping them.

The same comment photo features are already in the iOS app and comment reordering will be in the next update.

Export Updates

We’ve also gone through and updated all of our exports. Many exports now include more information than they did previously, and they all now have the following improvements:

  • Header rows have a background color
  • When it makes sense, multiple worksheets are used. For example, exporting a test will put each attempt into its own worksheet.
  • Columns will be auto-sized to match the maximum width of the column’s content
  • Clickable links to the original item are provided when possible
  • Dates will be formatted as dates (and values that are not dates but look like dates won’t be incorrectly formatted as dates)

We’ve learned from your feedback that exporting and then importing checklists, tests, and templates is a common task and we wanted to improve that experience. Now when importing you can select the specific worksheet that contains just the lines, which in turn provides an improved flow with how our import operates.

Area Served Filtering and Sorting

Finally, just today we added filtering and sorting by Area Served for checklists, tests, and issues. Area Served has proven to be pretty important for some customers’ workflows and we anticipate this will make it even more useful for those folks.

We hope you enjoy these updates. Summer may be over but we’re still working to make CxAlloy TQ the best it can be. Until next time, stay warm out there!

iOS App Version 3.8: Customer Appreciation Edition

Hi everyone! I’m Clint and I’m the lead mobile developer here at CxAlloy. While the majority of our developers work in our office in Atlanta, the mobile team is based here in Salt Lake City, UT. (We’re trying to get the other developers to call us “CxAlloy West”, with varying degrees of success.)

Earlier this year, the mobile team met with a group of our users and asked them what they wanted to see most in the app. Some answers we expected; some surprised us.

We updated our development schedule to incorporate what we learned and the initial fruits of those conversations are now becoming available. One of them was the Multiple Line Answering feature that we released a few weeks ago, which has been very popular.

But, we’re not done yet. Version 3.8 of the app has two features that we know many of our users will be very excited about.

Adding Document Files

A few weeks ago, we added the ability to view many document file types (such as PDF, Word, Excel, etc.) without needing to export them first to another app. Now we’re taking the next step and, starting in version 3.8, users will be able to add those files directly to items in the app.

Next to the camera button in the file lists there is now a plus button which will bring up iOS’ file picker. From there, you can select files stored in Dropbox, Box, iCloud, or any other service that works with iOS’ Files app. Any file type that can be uploaded to CxAlloy TQ’s website can be added to the app.

Not only that, but users with iOS 11+ will also be able to drag documents and images out of other apps and drop them directly into CxAlloy.

Try it. It’s fun.

Distraction-Free Mode

I’m an avid iPad user. One of the biggest annoyances I have is when an app has a list of items on the left hand side that you can’t hide. This list can be really distracting when you’re trying to work on something more involved like, say, a checklist or test.

In version 3.8, we’re introducing a “Distraction-Free Mode” for the app that allows you to tap on the new “expand” button to hide the left-hand list allowing you to focus on the work at hand.

image

More to Come

As you might expect, these are not the only features customers are asking for. When I look at our roadmap, I see several oft-requested features that we’re excited to finally bring to our users. Keep those apps updated and hopefully your most-wished-for feature will be landing on your iOS device in the near future.

Multiple Line Answering in the iOS App

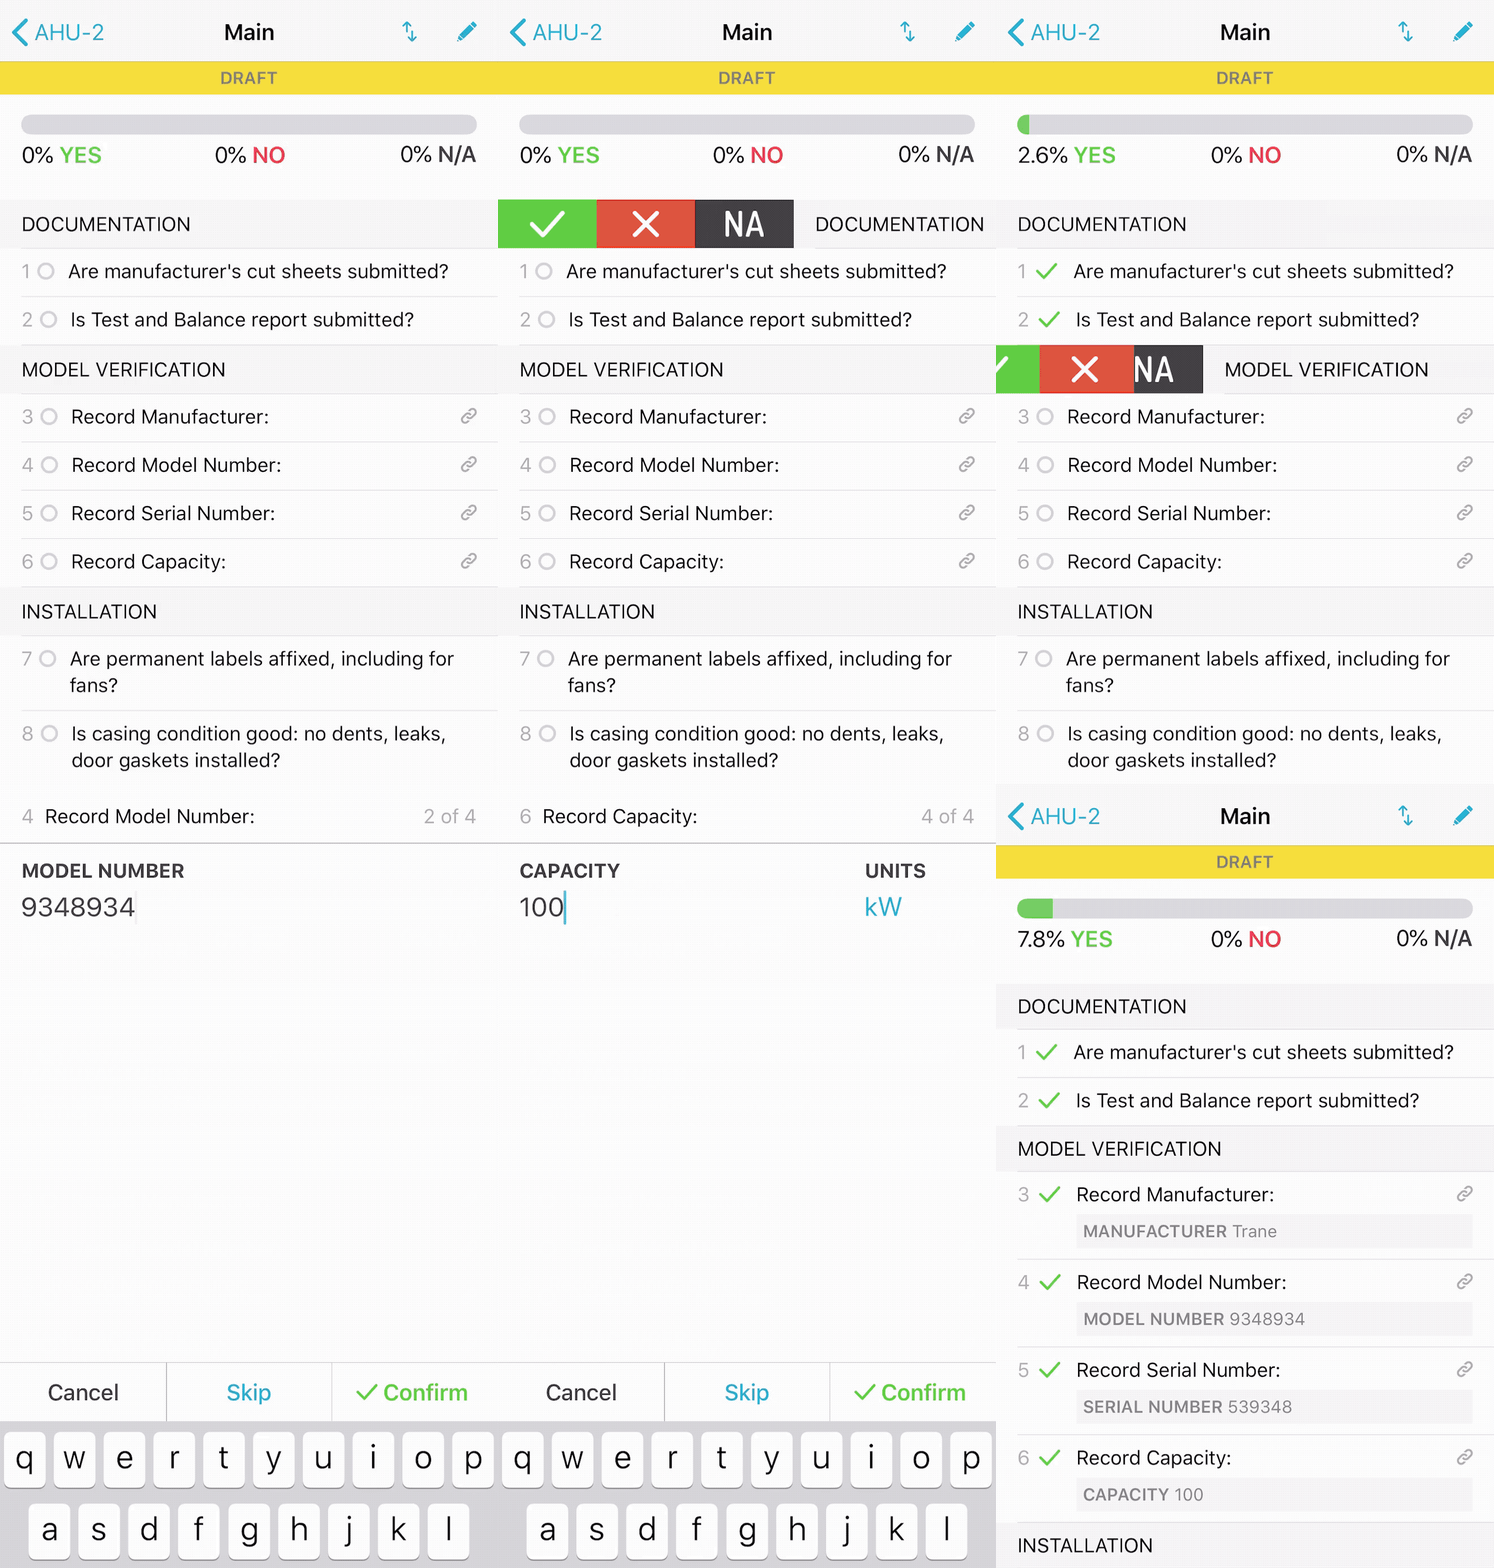
There are times when you are filling out a checklist or test and it would be a lot easier if you could answer multiple lines at once. Well, in version 3.7 of the iOS app, we are introducing multiple line answering!

image

In order to answer multiple lines at once, swipe right on a header line in a checklist or test. The line will slide over to reveal the same answer buttons used by the regular line. The difference with these buttons is that tapping on them will apply the selected answer to all of the lines until the next header.

If there are attributes in the line, answering yes will prompt you to add values for each attribute.

We’re hoping multiple line answering speeds up your work in the field. Let us know what you think by emailing support@cxalloy.com.
In addition to multiple line answering in version 3.7, we also made a small addition to the checklist, test, equipment, and field observation lists. Now, these lists will include the count of any issues for each item to help you quickly find the information you’re looking for.

Sort by Date Updated – Customer Appreciation Summer Week 10

This week in our Customer Appreciation Summer we are adding the ability to sort issues, equipment, field observations, and reviews by when they were last updated. This new sort is called “Date Updated”.

image

An item will be considered “updated” not only when it is edited, but also when files, issues, or comments are added to it. The exact rules controlling the updated date for an item can be found in a new help article.

A forthcoming update to the iOS app will also include this new sorting option.

We know you want to see this same sort for checklists and tests and we are working on it. To get that one right – which we believe means accounting for answers to individual lines – we need a little more time.

See you next week!

Status Locking – Customer Appreciation Summer Week 9

This week’s feature in our Customer Appreciation Summer is another top request. You can now apply status restrictions to not only the setting of a status, but also to the un-setting of that status. In other words, once you set an issue to “Closed” (for example), the only people that can change it away from “Closed” are the people that are allowed to set “Closed” in the first place.

image

This feature is opt-in. If you’d like to turn it on, navigate to your status configuration in project settings and click “Permissions” next to the status you want to restrict. Then check the new “Also restrict unsetting this status” checkbox.

This new option is available as part of your account-level project defaults as well.

This additional restriction will be enforced in the iOS app starting with version 3.4, which we just made available.

While we were making changes to the status permission dialog we also added tooltips that better explain what each option does.

See you next week!

Account Export – Customer Appreciation Summer Week 8

This week’s feature in our Customer Appreciation Summer is for data geeks. You can now export key data – issues, checklists, and tests – from across all projects.

image

Unlike our project-based exports, which present the exported data similarly to how you see it in the software, these account exports are tailored more towards those looking for “raw data”.

For example, these exports include the numerical IDs that the software uses to uniquely identify each record. You’ll also notice that we split up the exports into their underlying pieces. Rather than a single test export, for example, there are instead three exports: Tests, Test Attempts, and Test Attempt Lines.

In keeping with the “raw data” approach of these exports, you can choose between CSV and SQLite formats. CSV (Comma Separated Values) is a simple spreadsheet format that will open in Excel and other spreadsheet programs, while SQLite is a common database format. You may need to download additional software to open the SQLite file.

When exporting to a SQLite file you will always receive a single file. When exporting to CSV you may receive multiple files if the export is large, as we have limited a single CSV file to 50,000 rows.

The exports are only available to account administrators and can be accessed under the new “Export” tab within your accounts.

See you next week!

Custom Permission Presets – Customer Appreciation Summer Week 7

This week’s feature in our Customer Appreciation Summer is one that we’re really happy to make available – custom permission presets.

Since we first introduced our more granular permission model in 2012 and its somewhat intimidating array of checkboxes, we’ve also provided some presets to save you the hassle of clicking all those little checkboxes. Presets are intended to save you time; they check the boxes for you.

Previously the available presets included some basic setups, such as “View Only”, as well as some recommended configurations, such as “Recommended for Subcontractor”. These were helpful, but they couldn’t be renamed or changed, and you couldn’t create your own. That changes with this week’s release!

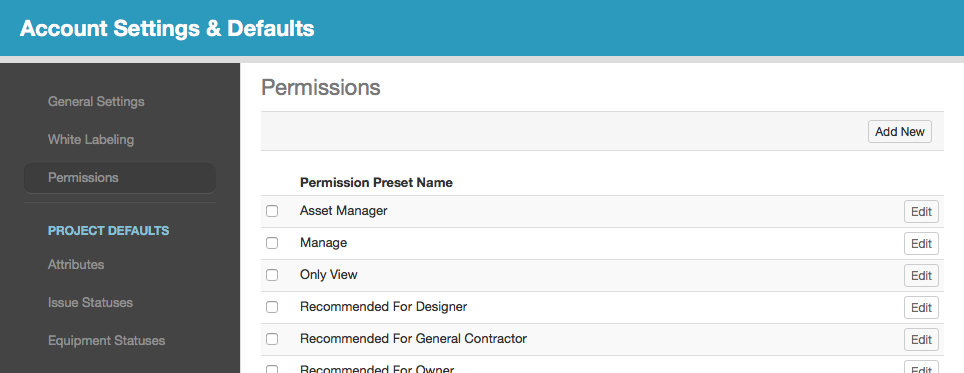
You’ll now find a new “Permissions” section in your Account Settings. As a part of this release, every account starts with the default presets we’ve used for years (”Recommended for Subcontractor”, etc.). The difference is that you can now create new presets and edit or delete existing presets.

image

Presets are configured exclusively at the account level; you can’t have project-specific presets.

The presets appear in the same place they always have when adding a person to a project, except that now you’ll be choosing from your list of custom account presets.

Of course, you can always tailor the permissions to each individual user and nothing about that changes with this release.

See you next week!

Directory Export – Customer Appreciation Summer Week 6

This week in our Customer Appreciation Summer we are adding the ability to export the list of people on the project. The export will include three worksheets: People, Companies, and Roles.

With this release, we are at the halfway point in our customer appreciation summer. To recap, in the last five weeks we have added these features:

For the second half of the summer, we are aiming to finish strong with more highly requested features, including:

  • Custom permission presets
  • Field observation comment improvements
  • Account overview
  • Template folders

We hope you are enjoying your summer. See you next week!

Copy Meeting Minutes Between Projects – Customer Appreciation Summer Week 5

In week 5 of our Customer Appreciation Summer, we are adding the ability to copy meeting minutes and agendas between projects.

To copy from a meeting in another project, use the new project dropdown in the Copy dialog, then select a meeting and the agenda or minutes as usual.

When copying between projects, any embedded references to issues, tasks, files, or comments will automatically be removed.

We hope you like it. See you next week!

Dashboard Overview PDF – Customer Appreciation Summer Week 4

If you’ve ever taken a screenshot of the project dashboard, this week’s feature is for you. For the fourth week of our Customer Appreciation Summer, we are adding PDF and export options to the project dashboard overview.

image

It’s pretty simple – just click one of the new “Export” or “PDF” buttons at the top right of the dashboard overview. We’ve also added “Dashboard” as a section you can include in the report generator.

We’d like to have exports and PDFs for more of the dashboard in the future, so let us know what other dashboard information you’d like to see included.